Paddle Building Tips:
Extra-fine Sanding Makes Cedar Harder...sort of
One of the most common complaints about cedar paddles is that they dent easily unless they're given a hard finish. Unfortunately, hard finishes tend to crack and trap water underneath, and get slippery over time. I did some experimenting with sanding recently and found that the finer you sand the surface of your paddle, the harder it is. The reason is quite simple:
A wood surface sanded with coarse sandpaper (80-100 grit) is like a freshly plowed farm field in miniature; it's full of furrows surrounded by loose material. In this case, the loose material is wood fibers that have been dislodged by the sanding process. There's a lot of air space in the surface, too. Fine sanding with 150 grit gets rid of most of the loose fibers and flattens the microscopic contours of the "field" somewhat. Finish sanding with 220 grit smooths and consolidates the surface even further. That's usually where I stop sanding, but I found that when sanded with 400 grit, the surface starts to take on a polished look, even on cedar. It feels smooth and hard.
A simple test will show the difference. Take a piece of wood and sand one area only with a coarse grit, then sand another area with progressively finer grits down to 400. Tap each surface with a fingernail. The coarse sanded surface will sound dull and your tapping will leave marks. The extra-fine sanded surface will sound and feel hard and there won't be any marks left.
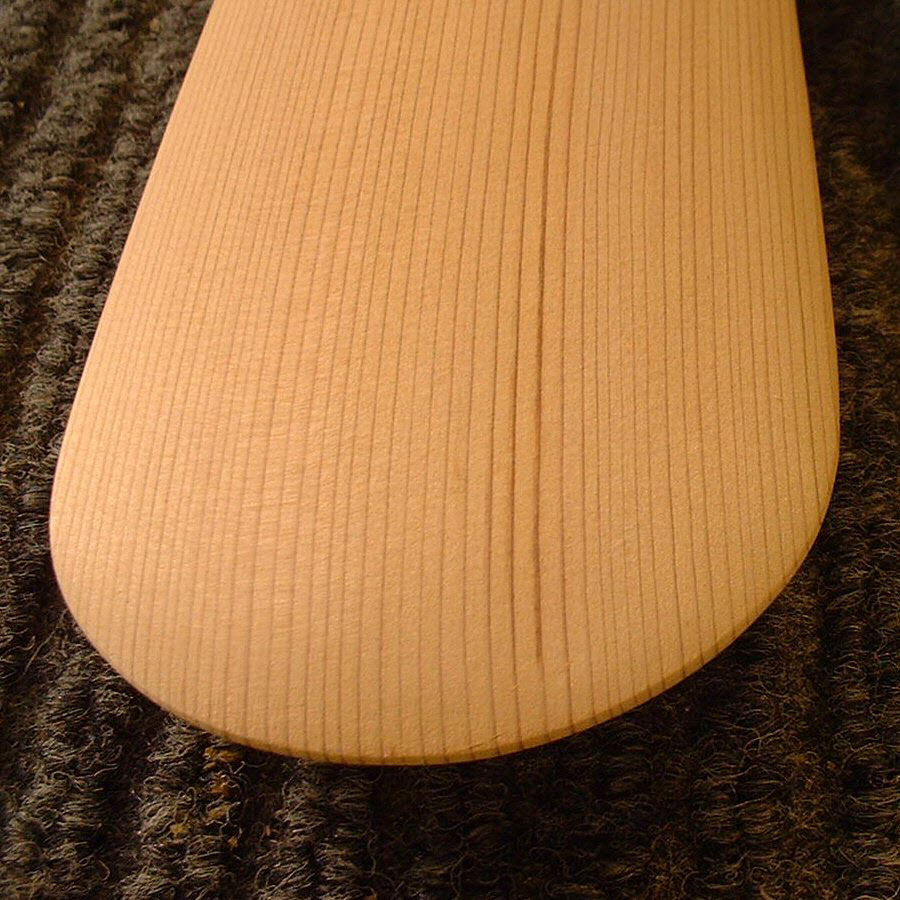
Granted, extra-fine sanding doesn't turn the surface into oak, but it does make the paddle more resistant to dents. An added benefit is that it really brings out the beauty in the woodgrain, as you can see in the photo (click to enlarge it). Finish the surface - or not - as you usually do, then hit the water!
Adjust the Oil:Varnish Ratio when Using Polyurethane
Polyurethane varnishes have a more "plastic" feel to them than varnishes that use natural oils and resins. When blending an oil/varnish finish using polyurethane, I find that I need to use more oil and less varnish to acheive the feel that I prefer. A ratio of 60:40 oil-to-varnish seems to work well. Since polyurethane varnishes are more durable than natural varnishes, the decreased varnish in the mix shouldn't reduce the durability of finish.
Hardwood Edges Increase Durability...
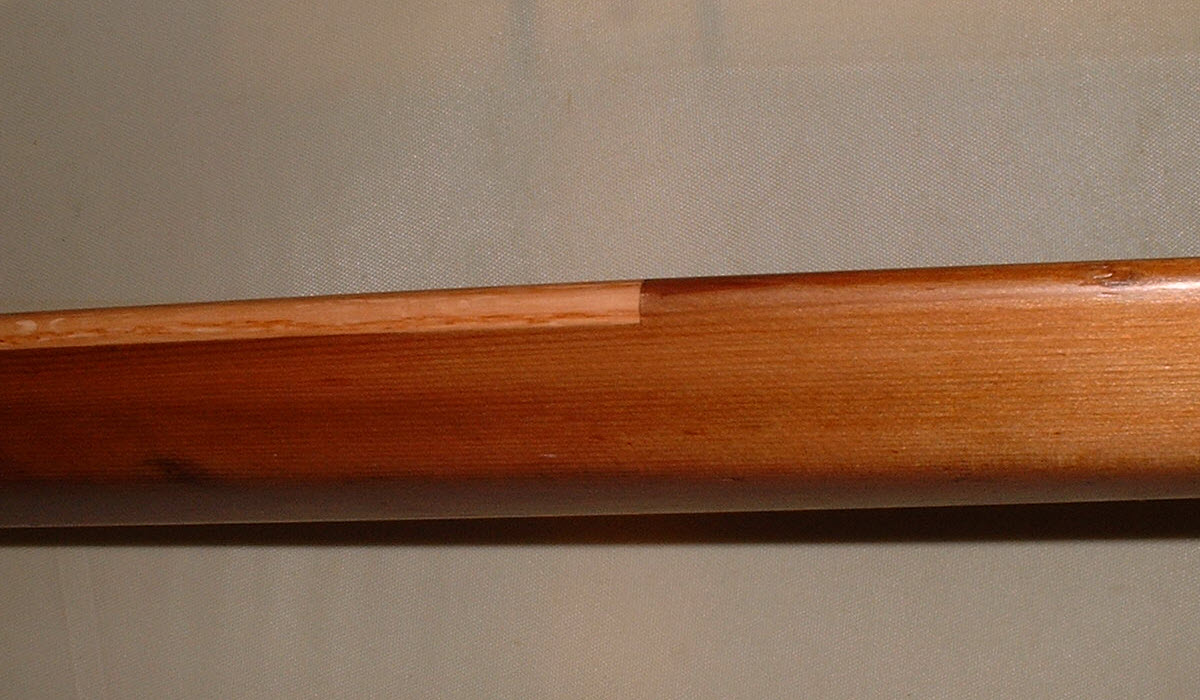
...and in this case, they saved a badly abused paddle. The paddle pictured had it's edges badly shredded while attempting to paddle through pack ice (It's a really dumb idea, don't do it!). Fortunately, the damage wasn't too deep and it was confined to the bottom half of the blades.
To fix it, I used some 1/4" red oak stock that I had made for kayak ribs, but any hardwood will do (white oak, ash, mahogany, walnut, locust, etc), so use whatever you have access to and that suits your sense of style.
Adding Hardwood edges is pretty straightforward:
- Draw a line in from the edge of the paddle, the thickness of your edging stock. If the blade edge is chewed up, rest it on a flat surface and mark it inboard from that surface.
- Saw the corners down to your line.
- Remove the material outside your line with a saw or rasp.
- Flatten the recess with a plane, as close to the corners as you can get.
- Clean up the corners with a chisel or chisel plane.
- Cut your edging stock to fit tight in the recess.
- Glue the edging stock in place with waterproof glue.
- Blend the shape of the edging to match the contours of the paddle blade, using a plane and sandpaper.
- Finish the edging to match the rest of the paddle.
You now have a more durable paddle that performs just as it did prior to the "upgrade". Since we replaced very little wood, there will be a negligible difference in weight
There are other options for edging materials, for example:
- A single steam-bent strip could be made to wrap around the tip and up both edges, providing full protection for the blade.
- Some builders are using strips cut from white PVC pipe (a.k.a. "Schedule 40"). In the larger sizes (3" and up), it's at least 1/4" thick and can be easily bent by heating it in a steamer, oven or with a heat gun. Note that the inner surface may not be completely smooth, but it can be sanded or planed - yes, planed - smooth.